A simple Soft Robot


Ideal for the first steps into Soft Robotics
An open source design

Build your own Tripod

Hardware specifications
- Fully open source
- Averall dimensions: **x**x** cm
- A cast silicone piece
- All hard pieces can be 3D-printed
- Most of them can also be laser-cut
- Servomotors and microcontroller board from MakeBlock

Software Specifications
- Fully open source
- Control and simulation based on the Sofa framework
- A specific plugin has been developed for Soft Robots
- Interface between the computer & the board with Arduino
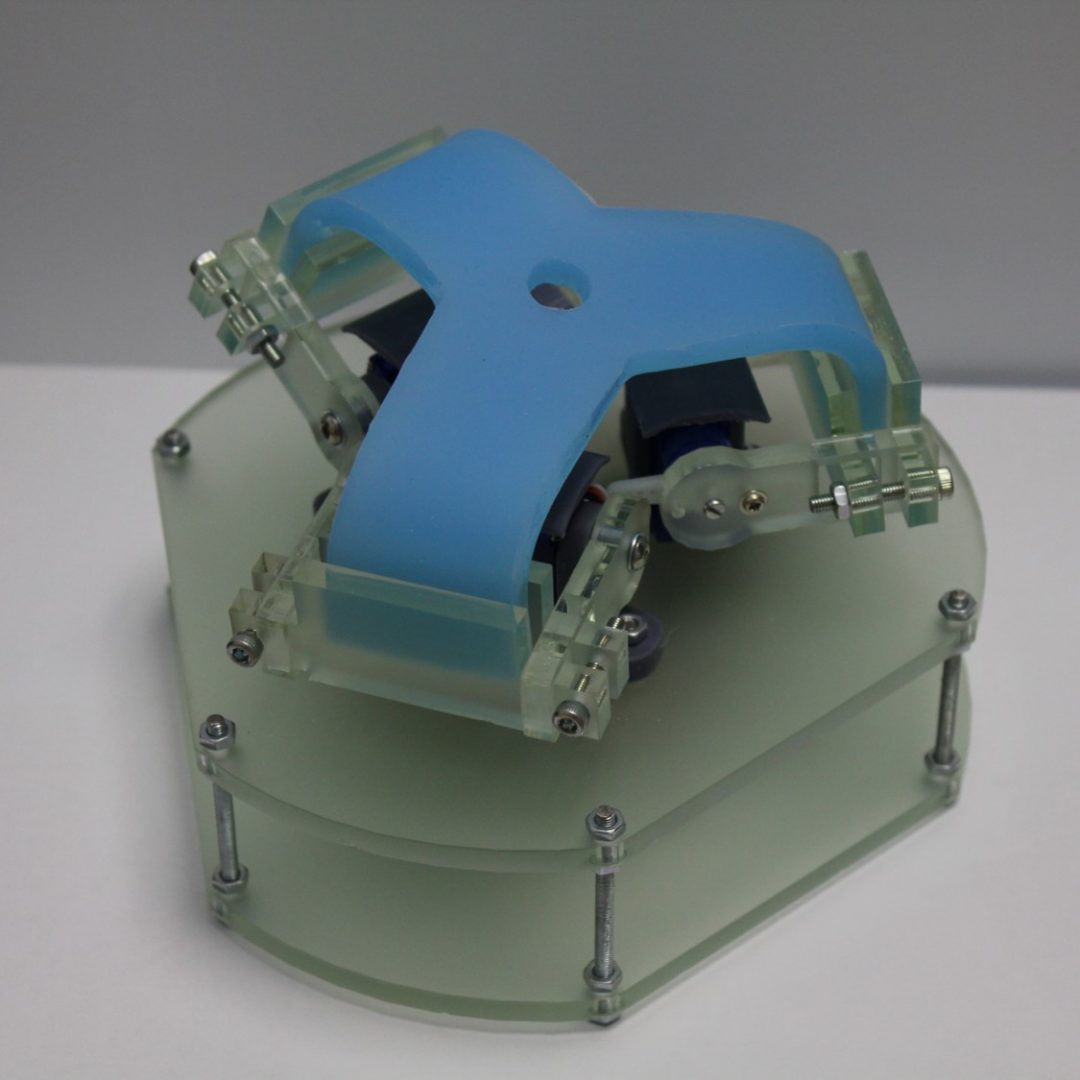
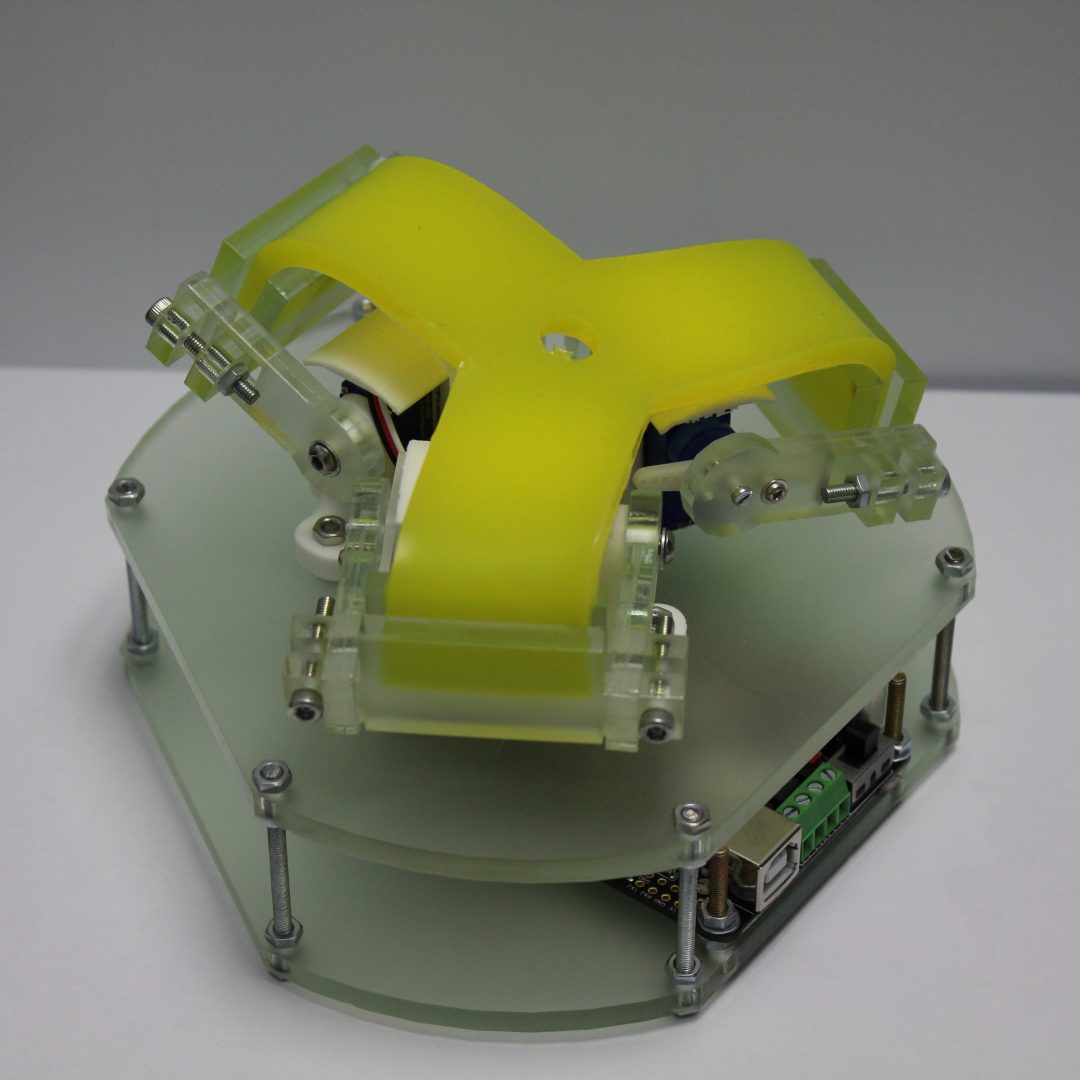
In order to build your own Tripod, you will need to *** the list of components on the right. You have the choice between 3D-printing all the hard pieces of the robot – in which case you will need the .** files – or laser-cutting most of these parts – see the .** files – and only 3D-printing the pieces that secure the servomotors. We don’t currently provide ready-to-assemble kits, so you will also need to purchase the MakeBlock MegaPi board and the three MakeBlock ** servomotors, as well as the bolts, nuts and washers listed below. The detailed instructions are presented hare after and can be downloaded here *link*. You can also follow us building a Tripod in the video below. If you have any questions, please head to our Contact *link* section.
We also love to here about new Tripod owners, so don’t hesitate to send us pictures of your own robot!
Parts List
- **g of ** in your favorite color if you 3D-print all the hard parts
- **g of ** in your favorite color + **** of ** if you laser-cut most of the hard parts
- **g of silicone for the soft part (we use ****) + silicone pigments (optional)
- A MakeBlock MegaPi board
- A 12VDC power supply
- A USB cable for the board
- 3 MakeBlock SG90 servomotors & the associated servo horns *link*
- 6 M2 7.8mm cross head screw (included with the servomotors)
- 6 M2 9.8mm cross head bolt (included with the servomotors)
- 6 M3 4.5cm threaded rod
- 3 M3 25mm flat head bolt
- 6 M3 20mm hex socket bolt
- 6 M3 11.8mm carriage hex bolt
- 6 M3 8.3mm carriage hex bolt
- 3 M2 11.8mm flat head bolt
- 42 M3 nuts
- 9 M3 washers
- Cups of coffee (optional?)
Step 1: Servomotor preparation
Attach the servo base and the servo cover using M2 9.8mm cross head bolts and place the plastic horn onto the shaft of the motor (Figure 1). It is not necessary to add a bolt to the horn at this point.
Do the same for the other 2 servos.
